How to Decorate Your Christmas Tree Like a Professional

The holiday season is upon us, and nothing captures the festive spirit quite like a beautifully decorated Christmas tree. Whether you're a seasoned decorator or a holiday enthusiast looking to elevate your tree game, this guide will walk you through the steps to create a professional-looking Christmas tree that dazzles and delights. From choosing a cohesive theme to adding the final touches, you'll find all the tips and tricks you need to make your tree the centerpiece of your holiday decor.
Build a Theme

Before you begin decorating, it's crucial to decide on a theme or color scheme for your tree. A well-thought-out theme will give your tree a polished and harmonious appearance. Here are some popular themes to consider:
-
● Traditional Red and Green: This classic color scheme never goes out of style. Think red ribbons, green ornaments, and gold accents.
-
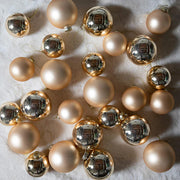
● Modern Metallics: Go for a sleek and contemporary look with silver, gold, and bronze ornaments.
-
● Whimsical Candy Colors: Bright colors like pink, turquoise, and lime green can create a playful and fun atmosphere.
-
● DIY Themes: Handmade ornaments, rustic decorations, and personalized touches can add a unique and heartfelt touch to your tree.
Tips for Choosing a Theme
-
● Match Your Home Decor: Consider the existing colors and style of your home to ensure
your tree complements its surroundings.
-
● Personal Style: Think about what makes you happy. If you love the look of a snowy forest, go for a winter wonderland theme with lots of white and silver.
-
● Family Traditions: Incorporate elements that hold sentimental value, like family heirlooms or handmade ornaments.
Fluff and Shape

-
Start at the Bottom: Begin with the bottom section of the tree. Fluff each branch individually, spreading them out in all directions.
-
Work Your Way Up: Continue fluffing each section before attaching it to the tree. This method makes it easier to reach every branch and ensures a uniform shape.
-
Attention to Detail: Pay special attention to the top section as it can be more challenging to shape due to its height. Use a step stool if needed.
Why Fluffing and Shaping Matter
-
● Creates Fullness: Properly fluffed branches make your tree look lush and full.
-
● Even Distribution: Ensures that ornaments and lights are evenly spaced and not hidden by flat sections.
-
● Realistic Appearance: A well-shaped tree mimics the natural growth patterns of a real tree.
String the Lights (Optional)
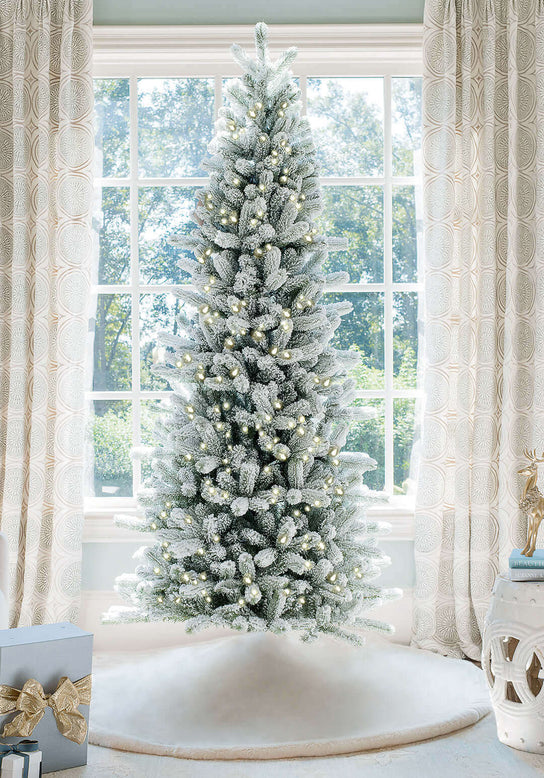
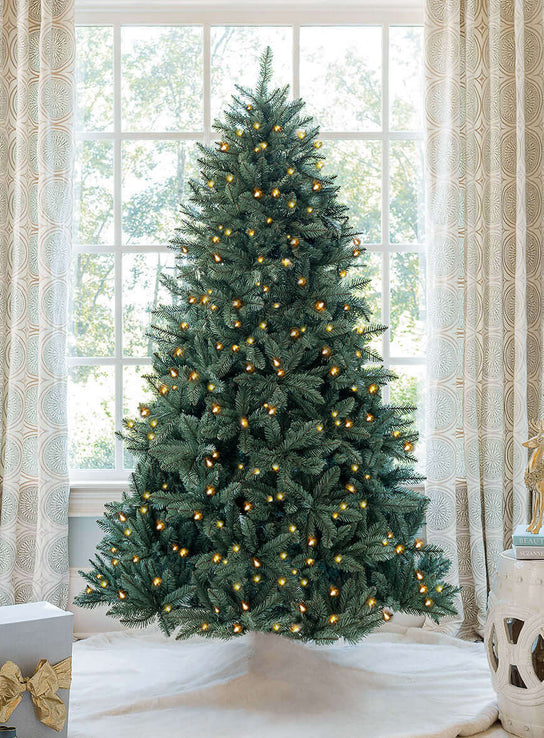
If your tree is not pre-lit, adding lights is an essential step. Proper lighting sets the stage for the rest of your decorations. Here’s how to do it:
-
Test the Lights: Before you begin, plug in your lights to ensure they are working correctly.
-
Start from the Top: Begin by wrapping the lights around the top of the tree, working your way down. This method helps distribute the lights more evenly.
-
Weave In and Out: As you string the lights, weave them in and out of the branches to create depth and avoid a flat look.
-
Separate Strands by Sections: If your tree has multiple sections, keep the light strands separate for easier assembly and disassembly.
Lighting Techniques

-
● Density: For a bright and festive look, use more lights. Aim for 100 lights per vertical
foot of tree.
-
● Types of Lights: Choose between warm white, cool white, or colored lights based on your theme. LED lights are energy-efficient and long-lasting.
● Troubleshooting: If a section of lights isn’t working, check the fuses and bulbs. Replace any faulty components to restore the full strand.
Section the Tree

When decorating, consider the tree's visibility. If your tree is on a rotating stand or visible from all sides, decorate it evenly. If one side is against a wall, add filler decorations to the back and focus on the front.
Tips for Sectioning
-
● Bottom to Top: Start decorating from the bottom and work your way up.
-
● Balanced Placement: Place larger decorations first, followed by smaller ones to fill gaps.
-
● Filler Decorations: Use inexpensive ornaments or ribbons to add volume to less visible sections.
Dress the Tree
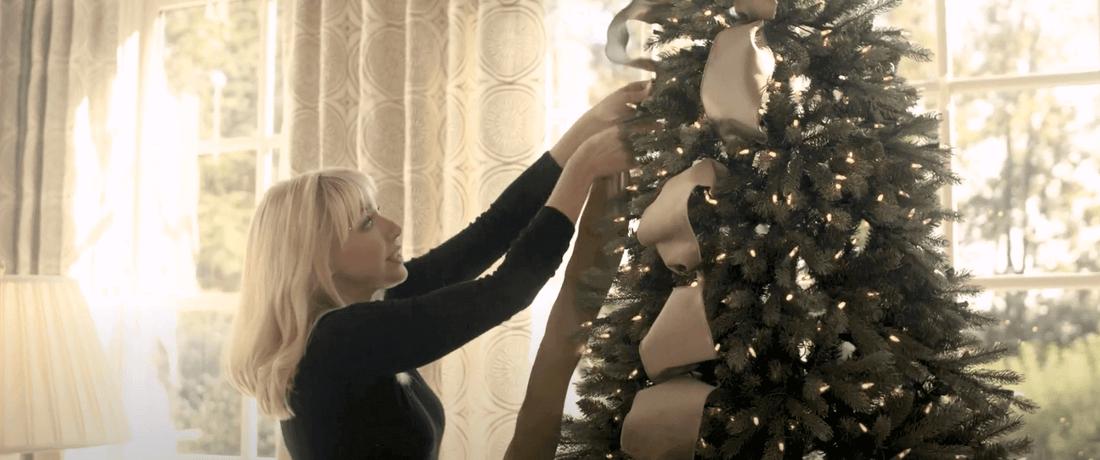
Once your theme, plan, and lights are in place, it's time to add garlands or ribbons. These elements add texture and depth to your tree.
-
Choose Your Style: Select a garland or ribbon that complements your theme. Options include tinsel, beads, or fabric ribbons.
-
Start at the Top: Begin draping your garland or ribbon from the top of the tree, working your way down.
-
Weave In and Out: For a fuller look, weave the garland or ribbon in and out of the branches, creating layers.
Adding Garland and Ribbon
-
● Texture and Depth: These elements add visual interest and make your tree look more
dynamic.
-
● Consistency: Keep the spacing between loops consistent to maintain a cohesive look.
-
● Secure Ends: Tuck the ends of the garland or ribbon into the branches to keep them in place.
Add Details
Ornaments are the stars of the show. Here's how to hang them like a pro:
-
Vary Sizes and Textures: Use a mix of large, medium, and small ornaments to create visual interest.
-
Balance Colors: Distribute colors evenly around the tree to avoid clumps.
-
Hang Strategically: Place larger ornaments deeper into the branches for depth and
smaller ones on the outer edges.
Enhancing with Extra Details
-
● Tree Picks: Add floral picks, berries, or other decorative picks for added flair.
-
● Themed Sets: Use themed ornament sets to tie everything together.
-
● Ribbons: Add small ribbon bows or cascading ribbons for extra elegance.
Attach a Tree Topper
The tree topper is the crowning jewel of your Christmas tree. Whether you choose a star, angel, or unique DIY creation, it should be secure and complement your theme.
-
Secure Placement: Ensure your topper is firmly attached to avoid it falling over.
-
Cohesive Look: Choose a topper that matches the overall theme of your tree.
-
King of Christmas Trees: If you have a King of Christmas Pre Lit tree with a topper wire, only compatible toppers can be used. For other brands, run an additional wire with an extension cord.
Tree Topper Options
-
● Traditional Stars and Angels: Classic choices that never go out of style.
-
● Unique DIY Toppers: Create your own topper for a personalized touch.
-
● Focal Point: Make sure your topper stands out as the focal point of your tree.
Finish with a Skirt
-
-
Choose a Skirt: Select a tree skirt that matches your theme. Options include fabric skirts, faux fur, or even DIY skirts.
-
Place the Skirt: Lay the skirt around the base of the tree, ensuring it covers the stand completely.
-
Coordinate: Match the skirt with other elements of your decor for a cohesive look.
Why a Tree Skirt Matters
-
● Hides the Stand: Keeps the focus on your beautifully decorated tree.
-
● Spot for Presents: Provides a designated area for gifts.
-
● Adds to the Theme: Completes the overall look of your tree.
Maintenance and Storage
To keep your tree looking fresh throughout the holiday season, follow these maintenance tips:
-
Water (if real): Keep a real tree hydrated to prevent it from drying out.
-
Check Lights: Regularly check and replace any malfunctioning lights.
-
Rotate Decorations: If you have pets or small children, occasionally rearrange ornaments to keep them out of reach.
Storage Tips
-
● Ornament Storage: Use ornament storage boxes to keep your decorations safe.
-
● Light Storage: Wrap lights around a piece of cardboard or use a light storage reel.
-
● Tree Storage: Disassemble and store your artificial tree in a sturdy tree storage bag to protect it from dust and damage.
Conclusion
Decorating your Christmas tree like a professional takes time, effort, and a keen eye for detail. By following these steps and incorporating the tips provided, you can create a stunning centerpiece that will impress family and friends alike. Happy decorating, and may your holidays be filled with joy and beauty!
For more decorating tips and to browse our selection of premium Christmas trees and accessories, visit Our Website.
