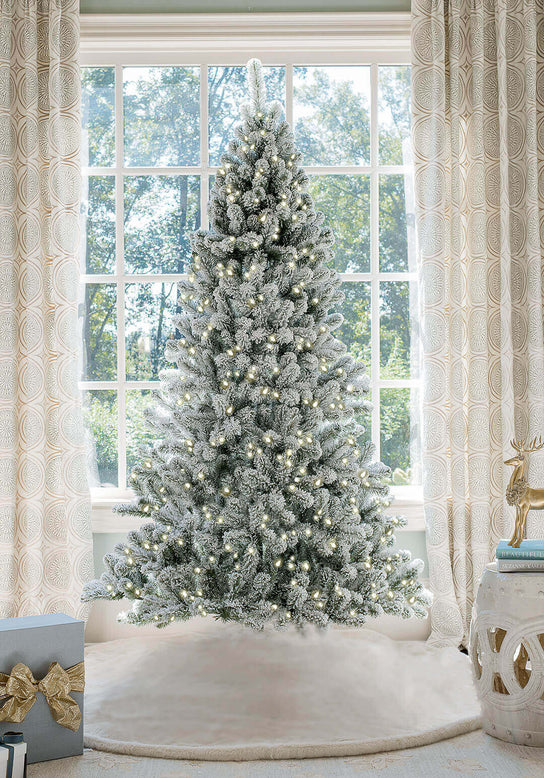
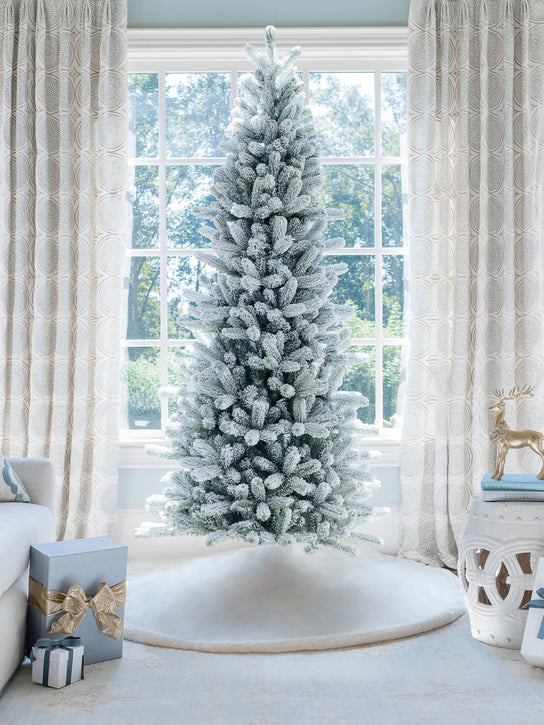
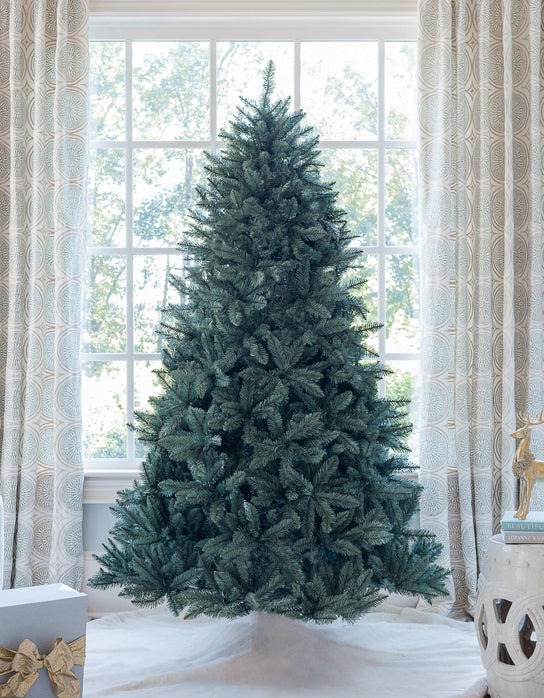
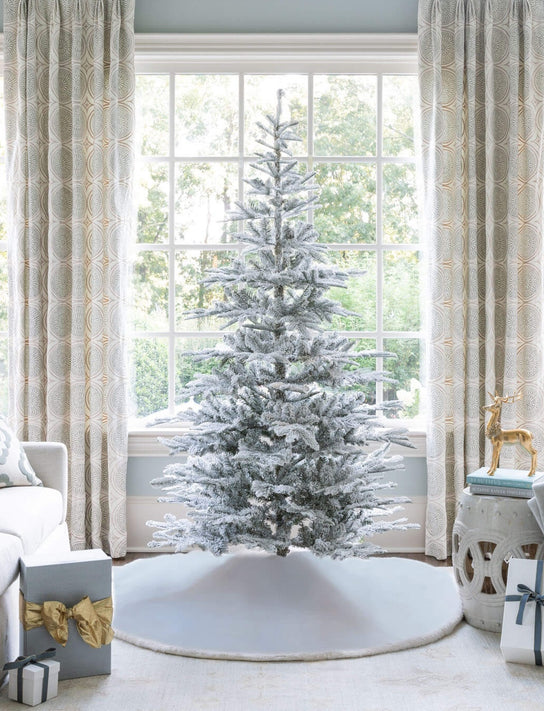
The Importance of and How to Shape a King of Christmas Tree
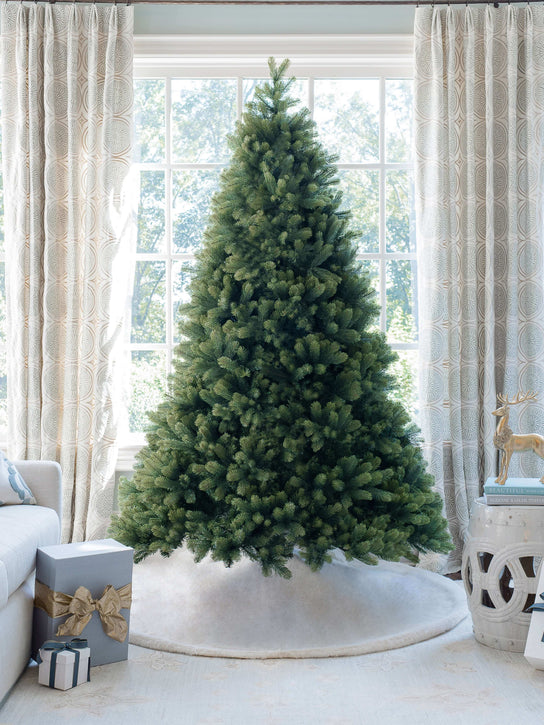
When you first receive your King of Christmas artificial Christmas tree, there is an immense sense of excitement and anticipation. However, it’s important to know that the first time you shape your tree, it will require a few hours to fully shape because it was originally shipped tightly compressed. After proper shaping is complete, you’ll have a beautiful, majestic tree that is ready to be the central focal point of your family’s festivities!
Getting Started with Tools and Equipment for Christmas Tree Shaping
Shaping an artificial Christmas tree to perfection requires more than just a keen eye and a bit of patience; the right tools and accessories can make all the difference. Essential tools for this task include a pair of high-quality gloves to protect your hands from scratches and scrapes while maneuvering the branches. Plus, having a sturdy ladder or step stool will help you reach the topmost parts of the tree safely and comfortably. Keep in mind that larger trees may require more than one person for set up.
For pre-lit trees, light testers and replacement bulbs on hand can help you keep the tree looking vibrant and illuminated. Investing in these accessories (if not already included in your King of Christmas tree bundle) can make the shaping process easier and enhance the overall look of the tree.
Best Practices for Fluffing the Branches on Your King of Christmas Artificial Christmas Tree
Fluffing branches on an artificial Christmas tree is important to achieve a full, natural look, and following these best practices can make this task much easier, and more effective.
Getting Started
Start by setting your tree up in a well-lit area, and make sure that you have enough space to work all the way around it. Begin with the bottom section and work your way up, so you don’t overlook any branches. Carefully spread out each branch, separating the individual tips to give the tree a fuller appearance. Being methodical with this approach and making sure that every part of the tree is attended to will create a consistent and lush look from top to bottom.
Don’t Forget to Fluff!
When fluffing, invest in the time you need to bend and shape each tip into different directions. This will add depth and dimension, and give your tree a more lifelike appearance. Focus on bending the tips outward and upward, mimicking the growth pattern of a real tree. Larger branches may be fanned out by using both hands to create a more voluminous effect. Remember to step back every now and then to view your work from different angles. This will help you identify any gaps or sparse areas that may need more attention. Patience and attention to detail are necessary to achieve the best results.
Make Period Adjustments
As you enjoy your tree throughout the holiday season, you may find that you need to make some minor adjustments. Lights and ornaments can weigh down branches, so periodically re-fluff any areas that start to look compressed. When hanging ornaments, use a gentle touch to preserve the shape you’ve carefully created. At the end of the season, take care when you disassemble and store the tree. Gently compress the branches to avoid bending or breaking them, and consider using protective covers to maintain their shape.
Common Mistakes in Shaping Artificial Christmas Trees and How to Avoid Them
Shaping an artificial Christmas tree can be fun and rewarding, but there are several common mistakes that can detract from its overall appearance.
Rushing through the Fluffing Process
One error many people make is to not properly fluff the branches. With the excitement of the season in the air, you might be tempted to rush this step, but rushing it often results in a sparse and uneven tree. Avoid this mistake by dedicating enough time to spread out each branch and each individual tip. Start from the bottom and work your way up, ensuring each branch is thoroughly fluffed. This creates a fuller, more natural look that sets a solid foundation for decorating.
Neglecting the Top Portion of the Tree
Another common mistake is neglecting the top section of the tree. The top portion is often less densely populated with branches, which can make it more challenging to shape. However, it's important to give the top the same attention as the rest of the tree. Use a ladder or step stool to comfortably reach and adjust the top branches, making sure they are evenly spread out and fluffed. Bending the tips upward and outward will help create a uniform, conical shape. Smaller ornaments and lighter decorations on the top can prevent it from looking weighed down, and will help maintain its shape.
Improperly Storing Your Tree
Improper storage is another mistake that can negatively impact the shape of your artificial Christmas tree. When a tree is hastily packed away, branches can be bent or damaged, making it difficult to achieve the desired look the following holiday season. Instead, carefully compress the branches without bending them excessively. Use storage bags or boxes designed for artificial trees, as these will provide adequate protection and prevent crushing. Simplify the process by labeling and organizing the sections of the tree so it’s easier to assemble next year.
Shaping an Artificial Tree for Maximum Light Distribution
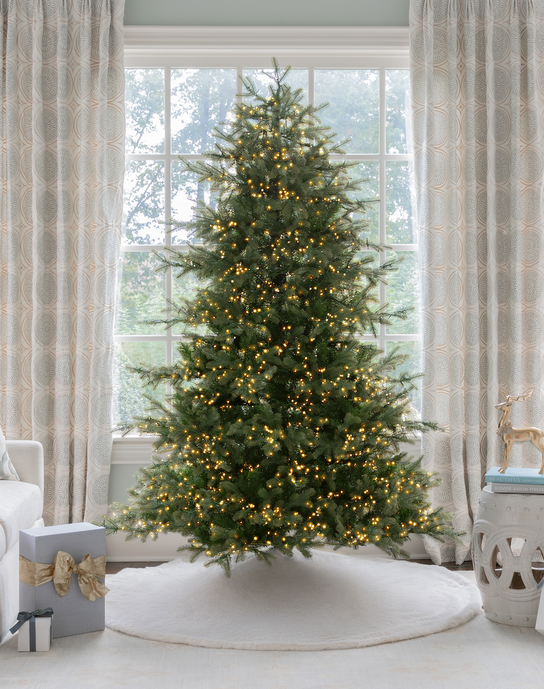
If your King of Christmas Tree is unlit and you want to add your own lights, you’ll want to consider strategic placement and arrangement of branches so that the lights are evenly dispersed and fully visible.
Avoiding Clumping
Start by assembling and fluffing the tree from the bottom up, paying close attention to the alignment and spacing of each branch. Make sure to spread out the branches evenly, creating open spaces where the lights can shine through. This avoids clumping, which can create dark spots and uneven lighting. When placing lights, start from the trunk and work your way outwards, wrapping the lights around each branch rather than draping them over the surface. This technique will both secure the lights and allow them to illuminate the tree from the inside out, enhancing the overall glow.
Arranging Ornaments & Decorations
Light distribution is also affected by the arrangement of your ornaments and other decorations. Place larger ornaments deeper within the tree to reflect light outward, and place the smaller ornaments on the outer branches to avoid overshadowing the lights. Reflective ornaments or those made of transparent materials can amplify the light effect, creating an even more vibrant display.
Step-by-Step Guide to Shaping an Artificial Christmas Tree
Preparation
● Clear a spacious, well-lit area to assemble and shape your tree.
● Gather the essential tools: gloves, ladder or step stool, another person if necessary.
● Make sure that each section is properly connected and stable before proceeding to the next.
Initial Fluffing
● Wear gloves to protect your hands from scratches.
Branch Separation
● Spread out individual tips on each branch to create a fuller look.
● Focus on creating an even, conical shape by adjusting branches in different directions.
● Identify and correct any sparse areas, gaps or clumps.
Top Section
● Use a ladder or step stool to reach and shape the topmost branches.
● Be sure that the top section is as well-fluffed and shaped as the lower sections.
Light Placement
● Lights should be evenly distributed for maximum coverage and effect.
Final Adjustments
● Re-fluff any branches that appear compressed or uneven.
Shaping “Quick Shape” Artificial Christmas Trees
A "quick shape" artificial Christmas tree is designed for convenience and ease, giving you a beautifully shaped tree in a fraction of the time. Memory wire helps these trees fall into shape more easily, minimizing the need for adjustment. To set up a quick shape tree, simply assemble the sections according to the instructions and allow the branches to settle into their pre-set positions. You might
need to make minor tweaks to ensure even distribution and fill any small gaps, but overall, the process is swift and straightforward. Keep in mind that shaping of the tips will still be required to achieve a voluminous tree. Quick shape trees are ideal for people who want a hassle-free setup without compromising on the fullness and aesthetic appeal of their Christmas tree.
Following these Christmas tree shaping guidelines will help you create a stunning holiday masterpiece. Whether you choose a traditional assembly tree or take advantage of a quick shape model, attention to detail and a bit of patience will help give you a lush, full tree to gaze at and open presents around!


